Showing posts with label handmade materials. Show all posts

October 24, 2014

Equivalence material


I have to be honest, I was daunted by this material. It is big, it's expensive, it's extremely precise and it seems to only be available from neinhaus which is even more expensive than normal expensive. My only option really was to make it, but, as mentioned before, it's so precise! The whole point of it is to be exact, shapes that are congruent are 'exactly' the same.

I thought about several materials, thick card was first, very thick card like mount card was next but I wanted the pieces to have real depth to them. Corrugated card was a strong contender and I may even go there if I have to remake any but I avoided it because of its tendency to squash on the corners. In the end I went for foam board, it is good because it cuts cleanly, but not ideal because the edges can crumble if you're not careful. It's saving grace was the price tag, £4.99 per board and I used 2, so £9.98 total compared to over £260 just for the square figures from neinhause. Of course they are amazing quality, made from iron, durable, exact and so on, but really, £260!


I made the square figures, the triangle figures and a circle for learning the parts of a circle (chords, arc etc). First I cut 14 squares (14 x 14 cm), then I very carefull measured, drew and cut out the centre shape. Making sure all the squares were the same and all the triangles were the same. I made these as precise as possible using a ruler protractor and set square.  Next I just cut up the centre pieces into half, quarter, eighth and sixteenth pieces. I say 'just' but it took ages, as you can see they are not exactly exact but they are very close and I am happy with them. I then stuck the frames down onto some mount card I had around and then finished it all with a few coats of spray paint.

The very small pieces are a little bit delicate but this is an elementary material so it should be fine and so far the coats of paint have stopped any of the crumbling edges. I think that it will be strong enough to cope with my children but it probably wouldn't survive several classes full so I can see why the schools buy the iron.


September 22, 2014

Sandpaper globe


The primary montessori globes are extremely cool but also come with a hefty price tag, I wanted to create one but all the tutorials I found were using actual sandpaper cut out and stuck onto a globe. I haven't tried it that way and I guess it must work because lots of people have done it but I thought it would be very laborious and also difficult to stick a 2d cut out onto a 3d globe. 


My method was to get a very cheap globe from a charity shop and paint the seas blue and the land a light brown. This took about three coats. I used acrylic so it dried fast. I then mixed some playsand with quite a lot of glue and used a tiny brush to paint that on to the land. I then left it over the weekend to get really hard and it's fantastic. The land feels really textured compared to the smooth sea and none has rubbed off yet. 

I went back to the charity shop and found another small globe (even cheaper this time because the stand was broken) and I painted that one like the continents globe with the sea blue and each continent a different colour. Binx made a stand for it by painting the inner tube of a roll of tape.


I'm very happy with these, I think I spent £3 on the first globe and £1.50 on the second.


September 15, 2014

'Sandpaper' letters

The sandpaper letters are a classic montessori material for teaching letters. The trouble is they are pretty expensive for textured flash cards, so I made my own. I didn't have any sandpaper and I like to use what I have already if I can so here is the method I used.

First I just cut up some old mount board I had into roughly A5 size rectangles, and painted them pink and blue (21 pink and 5 blue). When that was dry I drew a big letter on each just lightly in pencil and when I was happy with it I went over it in sharpie, making the lines thicker. The letters are over to the right because Rogue is definitely more right hand dominant but if you have a left handed child you would want to position the letters more to the left.


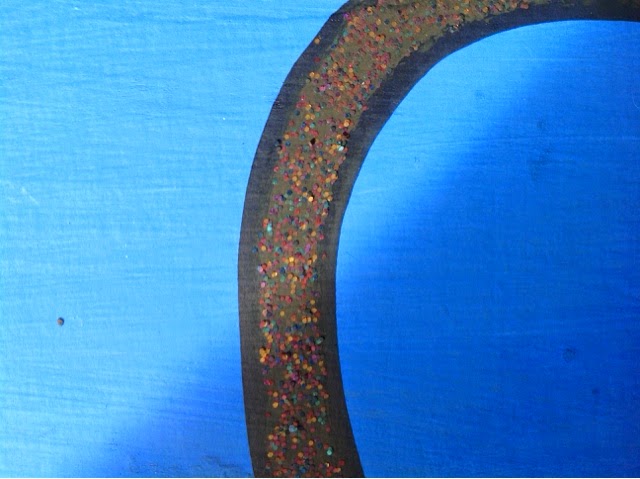
Next I mixed some glue, black paint and glitter together. I used up old pots of glitter, mixing all kinds of colours and then used the paint to try to take some of the shine and colour off. It worked surprisingly well actually. The texture was very thick, like wet sand.


Next I used a small brush to paint a line of this mixture into the centre of the lines of the letters. 


This has worked really really well, once it was dry it had a really good texture just like sandpaper and bits don't come off when you use them. Sandpaper is great but this has worked brilliantly for us and it came at my favourite price - free!


September 09, 2014

Homemade hierarchical material


Last weekend, I made some hierarchical material. This is a hands on representation of the hierarchies from 1 to 1,000,000. This material is intended for use by children just starting elementary in a montessori school at age 6/7, with binx having just turned 9 she is a little old for it. However, having come to this a bit late, I wasn't sure where to start in the albums and I could see that in some areas she would be ready for later works but in other areas there would be significant gaps. Our way of dealing with it will be to start at the beginning and take it at her pace, if she already knows it we won't linger there and if she needs more time, she can have it. Anyway, I had noticed some confusion for her in the amount of zeros numbers had and also in how to say the names of really big numbers. All in all, that is why I spent 3 hours on Sunday afternoon taping cardboard together and covering it in tissue paper. Below you can see some of my process and that it really was cobbled together from random bits of cardboard. This material is available to buy very beautifully and precisely made (mine is not precise - can you tell!), out of wood...for several hundred pounds. Mine is imprecise, made of bits of card taped together and extremely old faded tissue paper, and it was free!

I also made these labels to go with it, colour coded the same as the hands on material. Later this week I will show the activities we did with this.